How to Make Waterproof Stickers with Cricut (Step-by-Step Guide for Beginners)
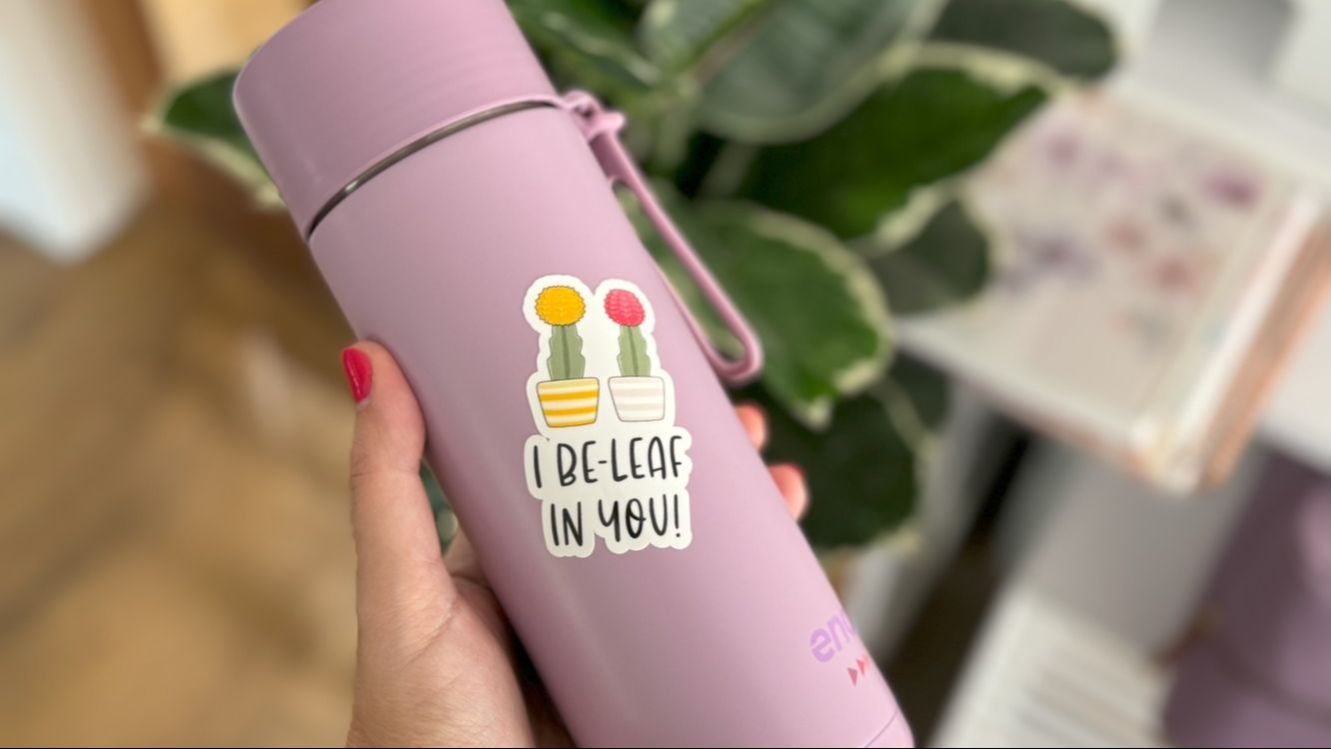
Whether you want to decorate water bottles, lunchboxes, or laptops, learning how to make waterproof stickers with your Cricut is a delightful skill for any sticker lover.
In this step-by-step tutorial, I'll walk you through every you need – from the right sticker paper to lamination tips and cutting settings – so you can create long-lasting, beautiful laminated stickers confidently.
Let's dive in!
Why Make Waterproof Stickers?
Waterproof stickers aren't just for outdoor use (though, they're great for that too). They're also perfect for:
- Water bottles
- Lunchboxes
- Kids' school gear
- Bathroom organization
- Laptop or phone decorations
- Kitchen organization
Since they're more durable and smooth, they also feel more professional.
What You'll Need to Make Waterproof Stickers with Cricut
Here's a list of the tools and materials you'll need to get started:
Tools + Equipment:
- Cricut cutting machine – The Joy Xtra, Maker, and Explore models all work great
- Color printer – Either inkjet or laser will work
- Cutting mat – I suggest the Cricut LightGrip or StandardGrip machine mats
- Scraper tool – I recommend this scraper tool, but an old credit card could also work.
- Brayer – Optional, but it's helpful for smoothing laminate. I recommend this brayer.
Materials:
- White waterproof sticker paper – Look for "water-resistant vinyl" or "weatherproof matte" sticker paper made for inkjet or laser printers.
- Clear laminating sheets or self-adhesive overlay – Like Online Labels' clear sticker paper or self-laminating sheets (no heat needed).
- Scissors or paper trimmer – For trimming laminate before cutting. This paper trimmer works well.
Step-by-Step: How to Make Waterproof Stickers with Cricut
Now that you have all of your supplies, let's get to the fun part! Here's how to make your own long-lasting waterproof stickers at home.
Step 1: Design Your Stickers in Cricut Design Space
You can use pre-made PNG designs, or create your own designs using shapes, fonts, and clip art.
If you're just starting out:
- Choose simple shapes or images
- Add text if you'd like
- Group each design and use the "Flatten" tool to turn them into printable stickers
Pro Tip: If you're making stickers for water bottles or lunchboxes, keep your designs around 2-3 inches wide.
Step 2: Print Your Stickers on Waterproof Sticker Paper
Once your design is ready:
- Click "Make" in Cricut Design Space
- Choose Print then Cut
- Send your design to your printer
- Turn Bleed OFF
- Use System Dialog to adjust print settings
- Set to "Best" or "High" quality
- Set paper type to "Photo" or "Glossy"
Pro Tip: Once your stickers are printed, let the sheet sit untouched for about 15-30 minutes. This will help the ink dry fully and prevent smudging or bubbling before you apply your laminate.
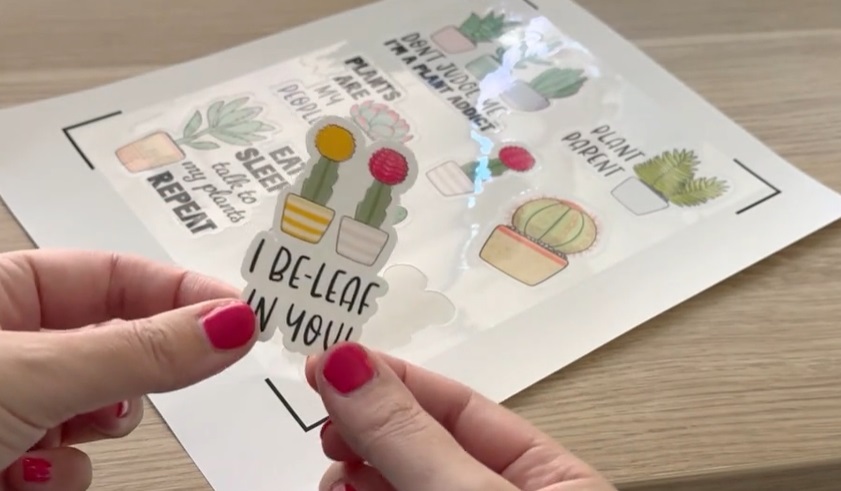
Step 3: Apply Clear Laminate to Make Your Stickers Waterproof
Now it's time to add your laminate layer. This is the magic step to making your stickers waterproof.
- Cut your laminate sheet slightly smaller than your printed area – This helps you avoid covering Cricut's black registration box
- Peel just a corner of the laminate backing
- Line it up carefully over your sticker sheet
- Slowly smooth it down using a scraper or brayer – Work from the center out to the sides to avoid creating bubbles
This layer will help protect your stickers from splashes, smudges, and wear-and-tear (and all without needing a fancy laminating machine!)
Step 4: Cut Your Waterproof Stickers with Cricut
Now that your stickers are laminated, you're ready to cut. As always, make sure you do a test cut first.
In Cricut Design Space:
- Select a "Printable Sticker" option as your material
- Set the pressure to "More"
If your stickers aren't cutting all the way through, try selecting a "Premium Vinyl - Glossy" option as your material or create a custom material with higher pressure.
Here are some recommended custom-cut settings for laminated stickers:
- Pressure: 300
- Passes: 1
- Blade Type: Fine Point Blade
Step 5: Peel + Use Your Waterproof Stickers
Once the cut is complete:
- Flip your mat upside down
- Gently peel the mat away from the sticker sheet – If you peel the sticker sheet away from the mat, you might end up with curled stickers.
- Test one sticker by peeling it off to check the cut
And now your waterproof Cricut stickers are ready to go!
Tips for Success with Waterproof Stickers
Here are a few helpful tips from years of making waterproof and laminated stickers with Cricut:
- Use a new or sharp blade – Old or dull blades tend to struggle with going through thicker laminated sheets
- Avoid applying laminate over Cricut's black registration box – This might prevent your machine from being able to read the marks
- Wipe your mat gently before cutting, especially after printing, to remove dust
- Store sticker sheets flat to avoid warping or creating air bubbles
- Hand-wash items with waterproof stickers to help your new creations last longer
FAQs About Making Waterproof Stickers
"Can I make waterproof stickers without laminate?"
Unfortunately, no. While using waterproof paper helps, adding a clear laminate layer is what truly protects the sticker from moisture, rubbing, and peeling.
"Can I use regular sticker paper and just add laminate to make it waterproof?"
You can, but I don't recommend it. For best results, I recommend using waterproof sticker paper as your base. Laminate adds a protective layer, but pairing it with the right paper will make your stickers last even longer, especially if you plan to use them outdoors or on items that see a lot of wear and tear.
"Do I need a laminator machine to make waterproof stickers?"
Nope! If you have one handy, that certainly helps. If you don't, self-adhesive clear laminate sheets can do the trick beautifully–and they're beginner-friendly.
"Are waterproof stickers dishwasher safe?"
I recommend handwashing items to help the waterproof stickers last. The heat and pressure from a dishwasher can sometimes weaken the adhesive or cause peeling over time.
Want More Tutorials Like These?
If you're loving the idea of creating your own waterproof stickers and want more step-by-step help and inspiration, then come join us inside Secret Sticker Society!
It's my monthly sticker-making membership created especially for crafters like you who want to:
- Learn how to make beautiful, professional-looking stickers from home
- Get access to easy-to-follow video tutorials and done-for-you templates
- Ask questions and get support from me and our friendly, sticker-loving community
- Finally feel confident using your Cricut (or other cutting methods)
Whether you're making stickers for yourself, as gifts, or even to sell, Secret Sticker Society gives you the tools, training, and encouragement to make stickers you're proud of.
Click here to join Secret Sticker Society
You Can Make Waterproof Stickers at Home
If the thought of learning how to make waterproof stickers at home felt overwhelming at first, I hope this guide has taken the mystery and fear away.
You don't need to be a tech wizard or an artist to make beautiful, functional stickers that last. You just need the right tools, a little guidance, and the courage to try.
It's such a fun and satisfying project, and the results are so worth it!
JOIN THE COMMUNITY:
Learn to make stickers from scratch that you're proud to use a share!