
How to Make a Background Transparent in Cricut, Silhouette + Canva
You have the perfect image for a sticker. You upload it into your design software...and there's a big white rectangle behind it.
Now what?
One of questions I hear a lot from beginner sticker makers is how to make an image background transparent.
In this guide, I'll start with what a transparent background actually is and why it matters when you're making stickers. If you already understand that part, you can scroll to jump straight to the instructions for your software.
What Is a Transparent Background?
A transparent background simply means that empty space around your image contains no background color at all.
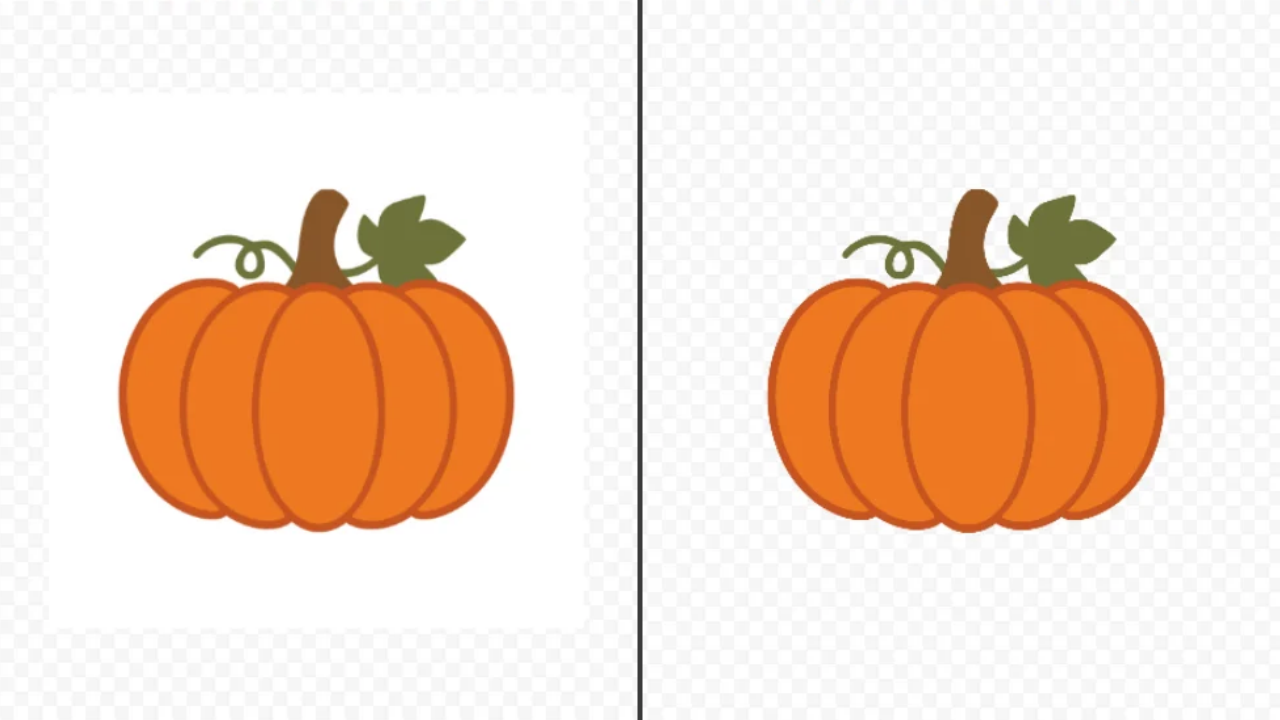
Imagine you have an illustration of a pumpkin sitting in the the middle of a white square.
If that white square is part of the image, your software sees the pumpkin and the white background.
If you remove the background and make it transparent, only the pumpkin remains.
You can often recognize transparency in editing software by the gray-and-white checkerboard pattern behind an image. The checkerboard isn't actually part of your design. It's the software's way of showing you that there's nothing there.
In the example below, two image files are previewed in Cricut Design Space's uploading step. The image on the left is a file consisting of a pumpkin with a white background. The image on the right is a file consisting of a pumpkin with transparency.
Why Do I Need a Transparent Background for Stickers?
You don't necessarily need transparency for every image you use.
But it becomes very useful when you want your cutting software to recognize the actual shape of your artwork rather than the rectangular boundary of the original images.
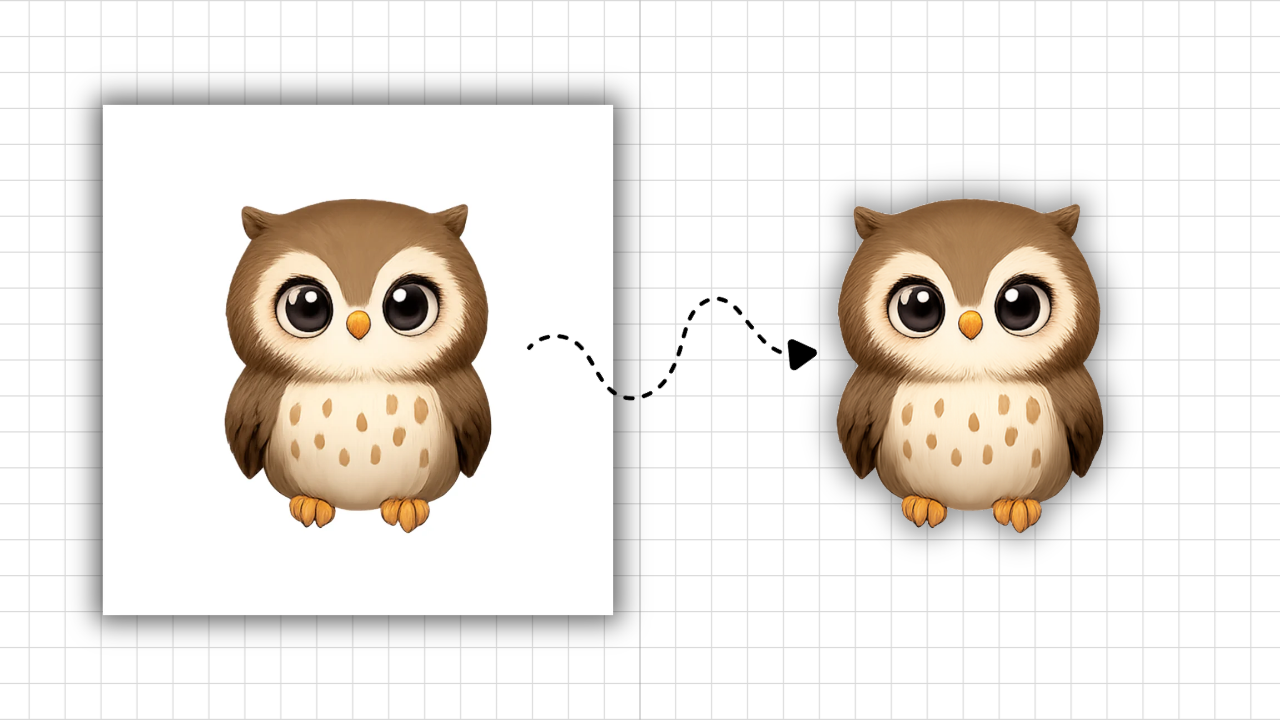
Imagine uploading a JPG of a cute owl on a white background.
Without removing that background, your software may treat the entire rectangular image as the area you're working with. That can make it harder to create the neat outline you want around the owl.
With a transparent background, the unwanted area surrounding the owl has been removed. That gives you much more flexibility when positioning the artwork, adding an offset or border, and preparing it as a Print Then Cut design.
This is particularly helpful for:
- Clip art you want to turn into individual stickers
- Hand-drawn artwork you've photographed or scanned
- JPG images with white backgrounds
- Digital artwork exported with an unwanted background
- Creating sticker sheets from several separate images
- Adding offsets around individual designs
Important: Making a background transparent and creating a cut line aren't always the same thing. Your cutting software still needs to know where you want your machine to cut. Think of transparency as removing what you don't want from an image, while your cut line tells your machine where to cut.
In the example below, the same clip art and text are used for both designs. The image file for the owl on the left included a white background. The image file for the owl on the right had a transparent background, allowing for a more refined design once the text was added.
JPG vs. PNG: Does File Type Matter?
Yes!
A JPG cannot preserve transparency. If you remove a background from a JPG and want that empty area to stay transparent, you'll generally need to save or export your finished image in a file format that supports transparency — most commonly PNG.
A PNG can support transparent areas, but that doesn't mean every PNG automatically has a transparent background. A PNG can still contain a solid white, colored, or patterned background.
So if someone sends you a JPG with a white background, you can remove that white area. Just remember that your finished transparent version will need to be saved in a suitable format, such as PNG.
How to Make an Image Background Transparent in Cricut Design Space
👉 Free option: Use Cricut's manual background removal tools
For a simple image with a plain background, try the manual option first.
Start by selecting Upload > Upload Image, then choose your image.
Once you reach the background removal stage, use Select to click an unwanted area of color. You can adjust the Color Tolerance to control how much of the similar color Cricut removes.
If little unwanted areas remain, use Erase to clean them up. If you accidentally remove part of your artwork, Restore can bring it back.
The checkerboard pattern shows which portions have been removed. Cricut also recommends using Preview Single Layer to check the shape before continuing.
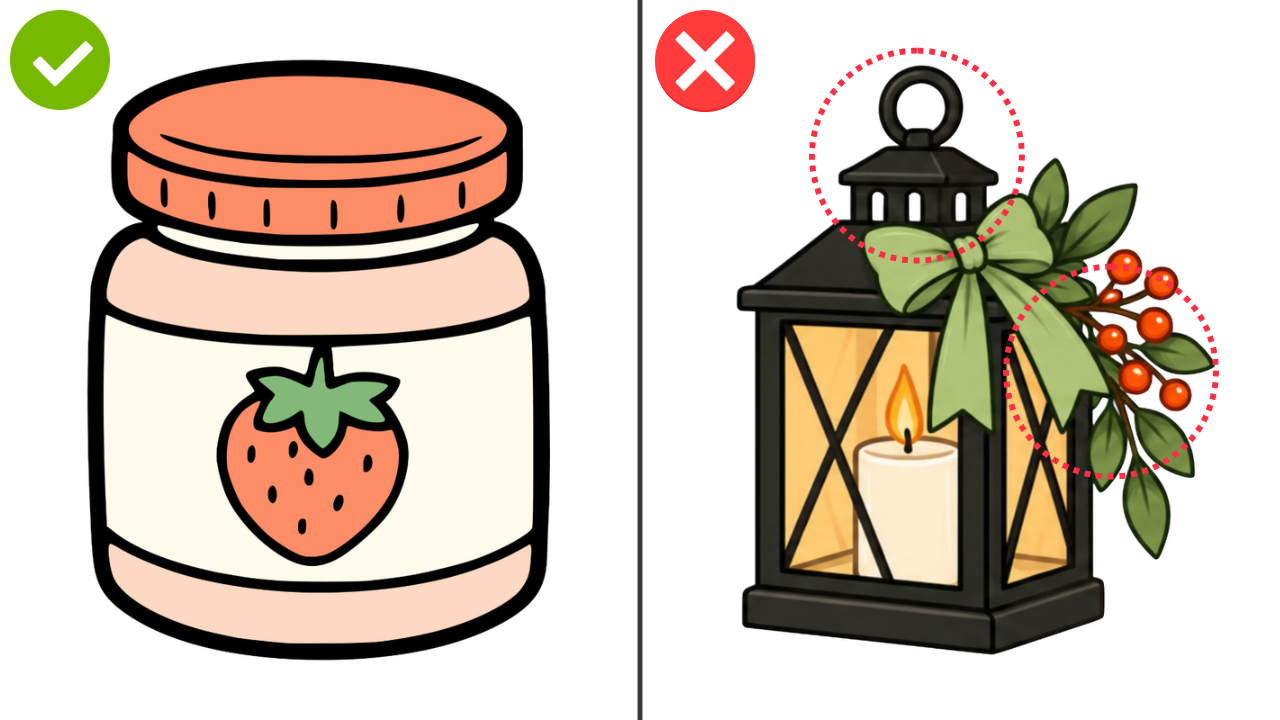
This method works well when your image has:
- A simple, solid background
- Clear edges
- Strong contrast between the artwork and background
- Minimal tiny details
Below, the jar would work well with this method because it has clear edges and few tiny details. The lantern may not work well with this method because it has more intricate edges and tiny details that create gaps you might miss with manual background removal.
👉 Paid option: Use Cricut's Automatic Background Remover
If you have a Cricut Access subscription, you can also use the Automatic Background Remover.
After uploading your image, select Remove Background and Cricut will attempt to identify the foreground and remove everything around it automatically. You can then use the manual tools to correct anything it missed or restore portions it removed accidentally.
This can be much quicker, but automatically doesn't always mean perfect.
This method may not work well if your image has:
- Shadows
- Fuzzy edges
- Similar foreground and background colors
- Lots of tiny details
- Complicated photographic backgrounds
How to Make an Image Background Transparent in Silhouette Studio
If you already have a PNG with transparency, Silhouette Studio can recognize that transparency.
But if your imported JPG or PNG actually contains a white background, you'll need to remove that background rather than simply expecting Silhouette to recognize it as transparent.
👉 Free option: Use "Trace and Detach" in Silhouette Studio
The Trace and Detach tool is included in all editions of Silhouette Studio, including the free Basic Edition.
Open your image and then:
- Open the Trace panel.
- Choose Select Trace Area.
- Draw a box around the part of the image you want to keep.
- Adjust the Threshold until the desired artwork is being picked up.
- Select Trace and Detach.
- Move the detached artwork away from the original image.
- Delete the original image and its unwanted background.
Silhouette specifically describes "Trace and Detach" as useful when you want to remove the white background from an imported print image.
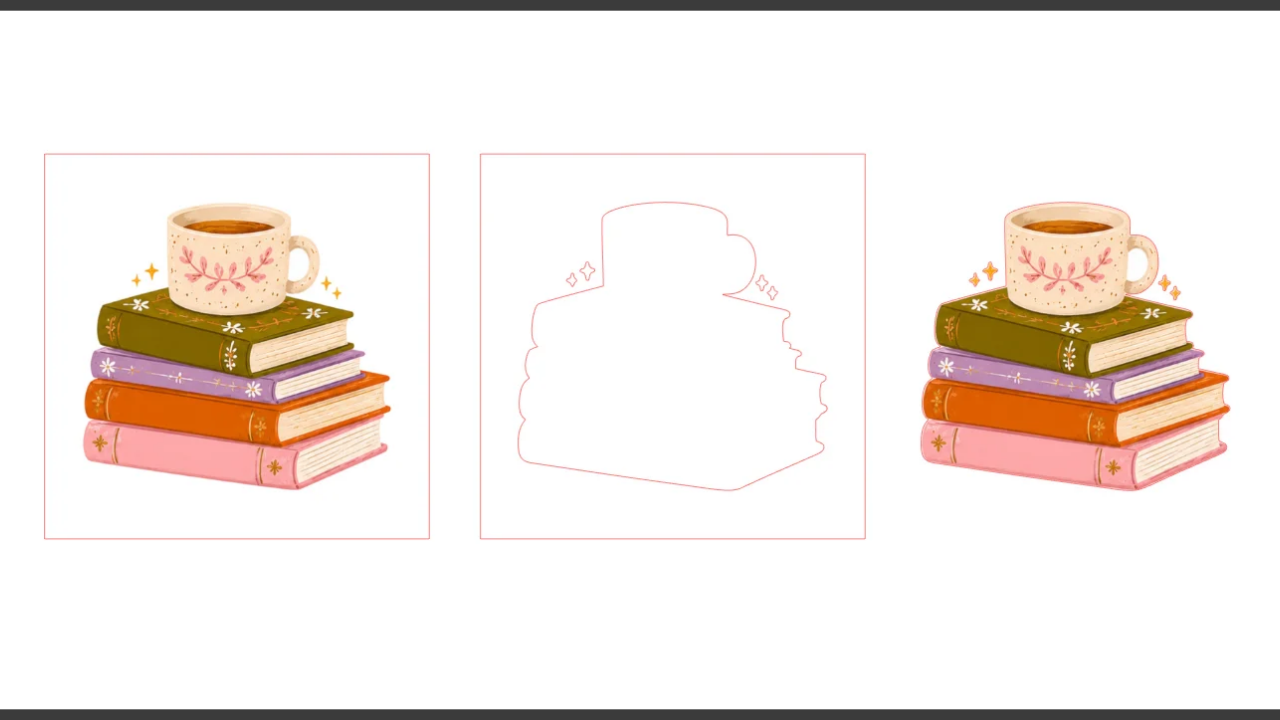
What if I want to save the transparent image as a PNG in Silhouette Studio?
Here's where the difference between working with transparency inside Silhouette Studio and exporting a transparent PNG for use elsewhere becomes important.
All editions of Silhouette Studio can open PNG files, but exporting your work as a PNG requires Business Edition. If you export a PNG from Business Edition, you can choose a transparent background, provided there isn't a white shape or other backing element still sitting behind your artwork.
In summary:
- Removing a white background with "Trace and Detach": Available in the free Basic Edition of Silhouette Studio
- Exporting your finished design as a transparent PNG: Requires Business Edition of Silhouette Studio
How to Make an Image Background Transparent in Canva
👉 Free option: Canva's Background Remover
Canva's current Background Remover tool allows free users limited access to background removal, while Canva Pro provides broader/unlimited access to the feature.
To use Canva's "Background Remover" tool:
- Upload your JPG or PNG into Canva.
- Select the image.
- Open the image editing tools.
- Choose BG Remover.
- Let Canva process the image.
- Check around the edges of the image and use the erase/restore controls where available to tidy the result.
Saving your image with a transparent background in Canva
This is where it's important to distinguish between removing the background of an image and exporting an entire Canva design with transparency.
Once the unwanted image background has been removed, PNG is the format you'll want when you need to preserve transparency. Canva's transparent-image workflow directs users to download the result as a PNG with a transparent background.
Keep Learning New Sticker-Making Techniques
Learning how to make an image background transparent is one of those little sticker-making skills that suddenly opens up many more creative possibilities.
And, of course, it probably won't be the last time you find yourself wondering, "Wait...how do I do that?"
That's exactly why I created Secret Sticker Society, a supportive place to keep learning and experimenting without having to figure everything out on your own.

Inside Secret Sticker Society, you'll find:
- Step-by-step sticker-making projects to help you learn new techniques by actually using them
- Ready-to-use templates and design resources to give you an easier starting point
- Fresh inspiration every month so you're never stuck wondering what to make next
- A supportive community of fellow sticker makers where you can share what you're creating and keep learning together
Whether you're still thinking "I don't know where to start" or you've been making stickers for a while and want to keep expanding your skills, Secret Sticker Society gives you ongoing ideas, resources, and encouragement for your next project.
Click here to join Secret Sticker Society today →
Make Transparent Backgrounds Work for Your Stickers
Once you understand why transparent backgrounds matter, removing them becomes a much simpler part of your sticker-making process.
Whether you're using Cricut Design Space, Silhouette Studio, or Canva, remember to:
- Save your finished image as a PNG
- Check those edges carefully
- Choose the background removal method that works best for your image
Then you can get back to the fun part: turning your designs into stickers you're excited to print, cut, and use!
JOIN THE COMMUNITY:
Learn to make stickers from scratch that you're proud to use a share!