
Kiss Cut vs Die Cut Stickers: How to Cut + Best Uses
When you're just getting started with making stickers, there's one question that can trip up even the most excited new crafter: What's the difference between kiss cut and die cut stickers?
The type of cut you choose for your stickers can affect everything from your design layout to the sticker paper you buy and how your final product looks and feels.
In this friendly guide, I'll explain the difference between the two sticker types, what tools and sticker paper you need for each, and how to choose the right cut based on how you plan to use (or sell) your stickers.
Let's make sense of it all, together!
What Is the Difference Between Kiss Cut and Die Cut Stickers?
The biggest difference between kiss cut and die cut stickers comes down to how deep the cut goes through your sticker sheet.
Kiss Cut Stickers
A kiss-cut sticker is one where the machine only cuts through the top layer of the sticker paper (the vinyl or adhesive layer), but not the backing paper.
The result? Your sticker stays on the backing sheet, and you peel it off when you're ready to use it.
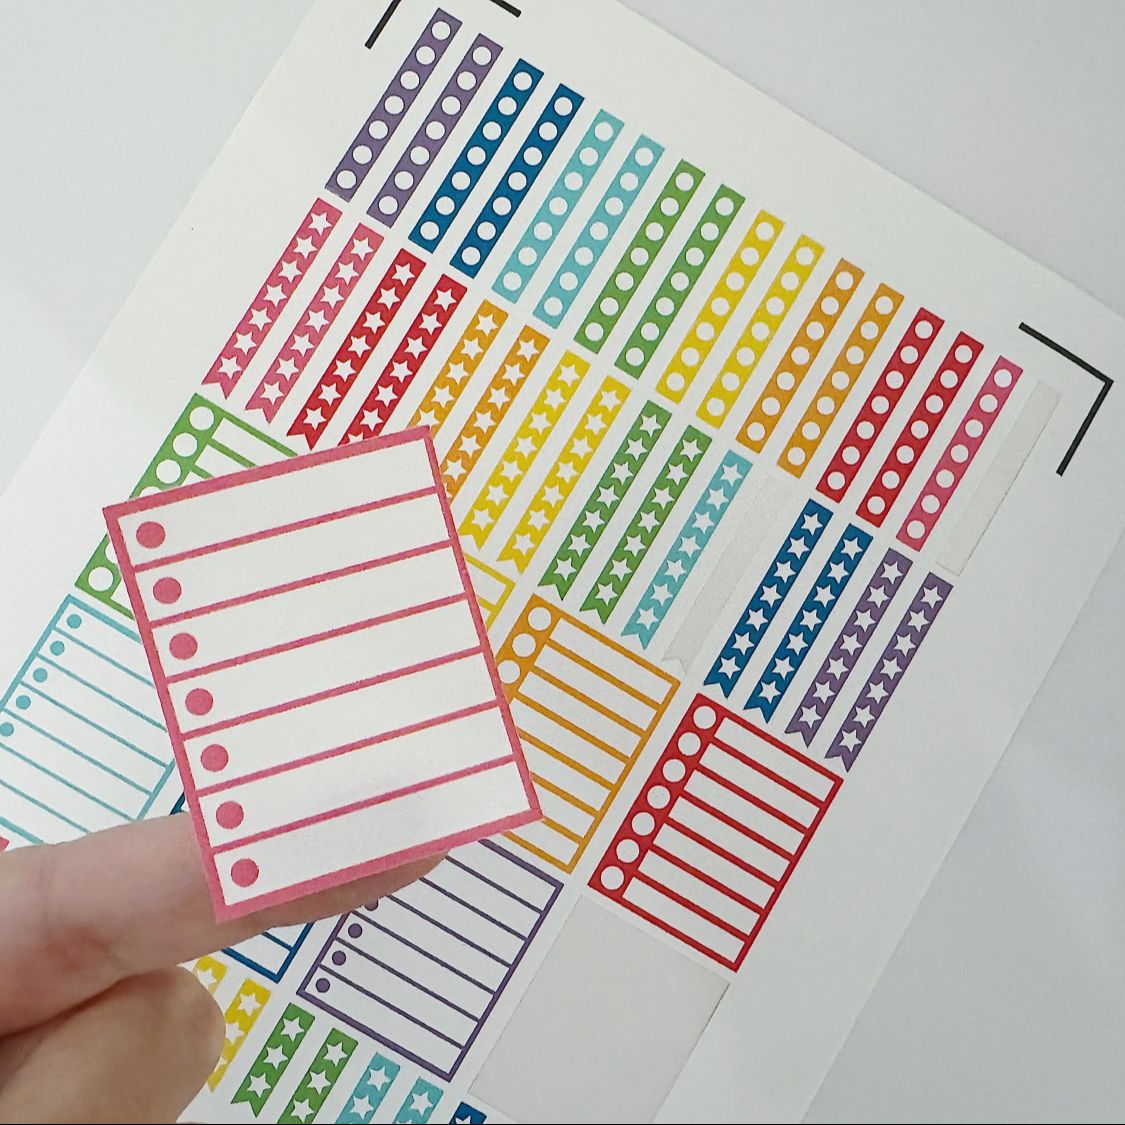
Think of your average sticker sheet with multiple designs. Those are typically kiss-cut.
Die-Cut Stickers
A die-cut sticker is one where the machine cuts through both the sticker layer AND the backing paper.
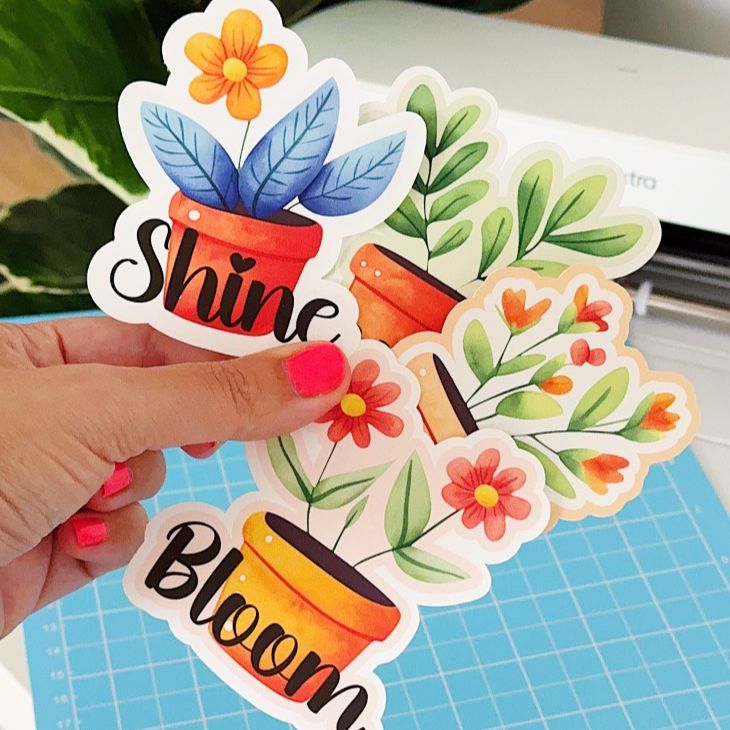
The result? Your sticker is completely cut out and follows the shape of the design itself.
This gives you individual stickers–perfect for gifts, selling as singles, or decorating your water bottle or laptop.
Pros + Cons of Each Type
Here's a quick comparison of kiss cut vs die cut stickers:
Kiss Cut
- Ease of peeling – Super easy since the backing sheet stays intact
- Presentation – Great for sticker sheets
- Ideal for – Planner stickers, labels, sticker books
- Cutting difficulty – Easier for beginners
- Paper usage – Less waste since the stickers stay on the backing sheet
Die Cut
- Ease of peeling – May be harder to peel
- Presentation – Eye-catching as singles
- Ideal for – Gifts, branded merch, selling individual stickers
- Cutting difficulty – Potentially difficult for beginners because it needs more precise depth settings
- Paper usage – More waste if your designs are far apart on the page
Tools You Need to Make Each Type
You can make both kiss-cut and die-cut stickers with most home cutting machines. The difference comes down to the cut settings.
For both types, you'll need:
- A Cricut or Silhouette machine, any one of the following:
- Sticker paper – This can be either matte, glossy, or vinyl (more on that below)
- Cutting mat – I recommend the LightGrip or StandardGrip
- Fine Point blade (for your cutting machine)
For kiss-cut stickers:
Use a "Sticker Paper" setting on Cricut and with a low blade depth/force on Silhouette.
Remember: The cut pressure should be low enough to NOT go through the backing sheet.
For die-cut stickers:
Use settings like "Cardstock" or "Premium Vinyl - Thick".
You could also create a custom setting with higher pressure or deeper blade depth.
You can do a test cut to make sure your chosen setting goes all the way through the top layer of the sticker paper AND the backing sheet.
Best Paper Types for Kiss Cut + Die Cut Stickers
Let's talk sticker paper! Not all paper handles both cut types the same way, so here's how to choose the right paper type for your stickers.
Best Paper for Kiss Cut:
- Matte sticker paper – Great for planners, journaling, or labels
- Glossy or clear sticker paper – Adds shine or transparency to your sticker sheets
- Printable vinyl – More durable and holds up well with kiss cuts
Since kiss-cut stickers stay on the backing sheet, you can use thinner paper and still get clean, professional-looking results.
Best Paper for Die Cut:
- Thicker vinyl sticker paper – Holds its shape well when cut out fully
- Waterproof paper + laminate – For durable, standalone stickers
- Printable cardstock – For non-adhesive stickers or mockups
If you plan to sell your stickers individually or include them as freebies in packages, die-cutting on a sturdier material will make them feel more high-quality and "giftable".
When Should You Use Kiss Cut vs Die Cut?
Use kiss-cut stickers when:
- You want to include multiple stickers on one sheet
- Your designs are small or detailed
- You're new to cutting and want to use more forgiving settings
Kiss cuts are a beginner sticker-maker's best friend. They're easy to print, cut, and peel, so they're perfect for everyday crafting and planning.
Use die-cut stickers when:
- You want to sell individual stickers (in person or on Etsy)
- You're creating branded merch or logo stickers
- You want to give stickers as gifts
- You're making stickers to decorate items like water bottles or laptops
Die-cut stickers are perfect for when you want your sticker to be the star of the show.
Still struggling with sticker cutting? I've got you!
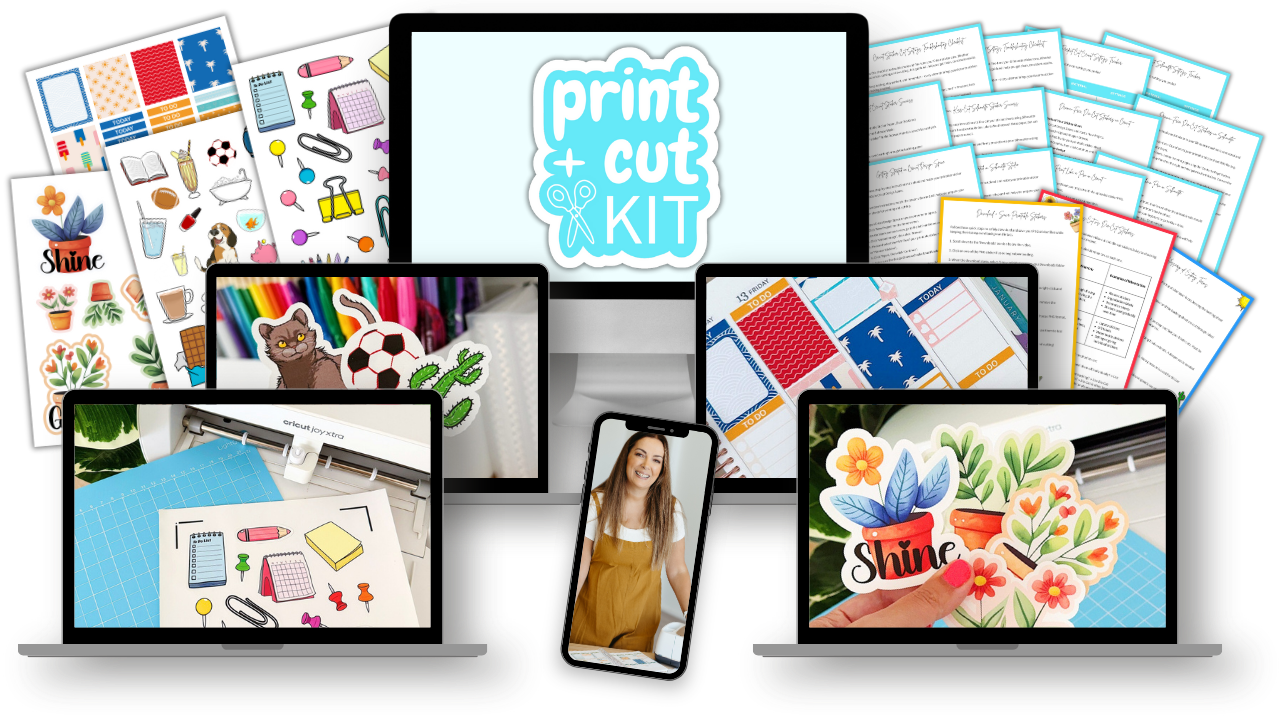
If you're excited to start making stickers but feel a bit stuck on getting the cutting just right, Print and Cut Kit is the perfect next step.
It's a quick and easy mini-course designed to take the stress out of cutting your stickers, especially if you've been:
- Wasting sticker paper from misaligned cuts
- Unsure about pressure settings or blade depth
- Struggling with your Cricut or Silhouette software
- Nervous about trying "Print Then Cut" for the first time
Inside the Print and Cut Kit, you'll follow my exact, beginner-friendly process to confidently print and cut perfect stickers every time. You don't need to figure this all out on your own–I'll show you exactly what to do, step-by-step.
Click here to grab the Print and Cut Kit now!
Kiss Cut vs Die Cut: Which One Should You Start With?
If you're brand new to sticker making, I recommend starting with kiss-cut stickers. They waste less material and give you an instant win to boost your sticker-making confidence.
Once you're more comfortable with your machine and its settings, you can explore die-cut stickers (especially if you plan to sell or gift your stickers as beautiful stand-alone pieces).
Whichever you choose, just remember: There's no "wrong" way to approach sticker-making. It's all about what works best for you and the stickers you dream of creating.
JOIN THE COMMUNITY:
Learn to make stickers from scratch that you're proud to use a share!