
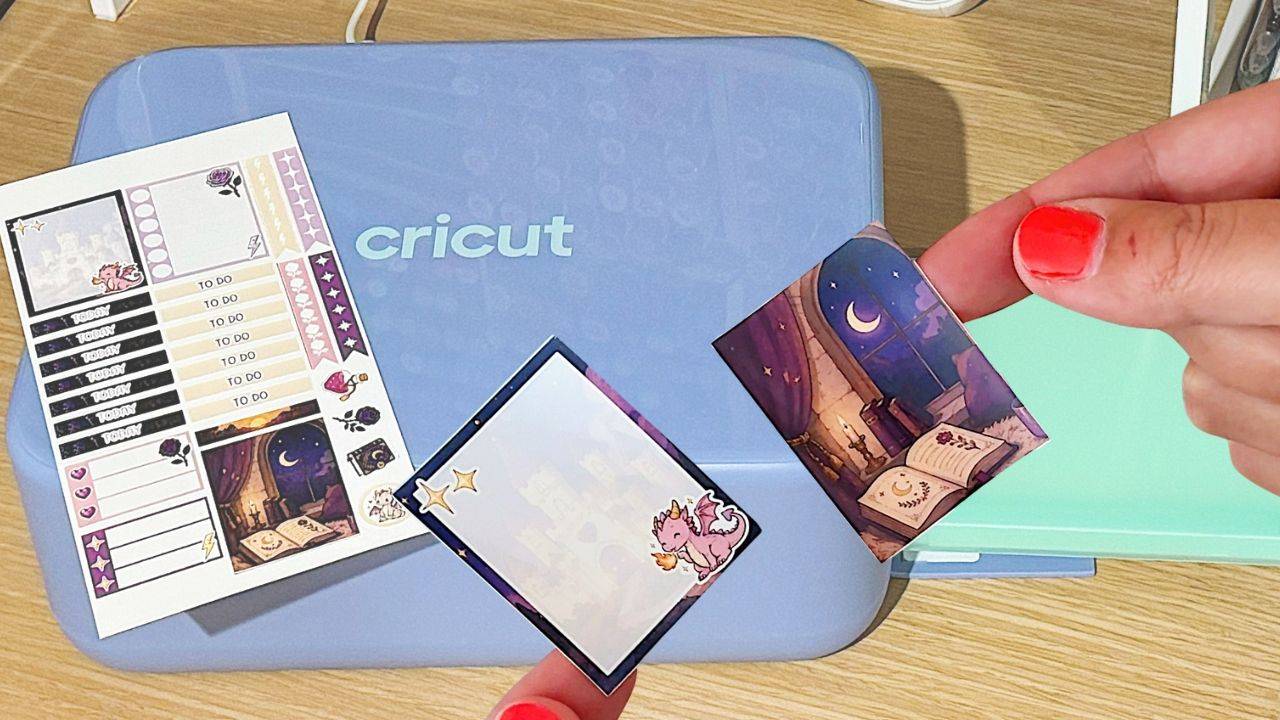
How to Use Printable Stickers with Cricut StickerPix
Got a Cricut StickerPix Print + Cut and a folder full of printable sticker sheets? You might have noticed they don't drop neatly onto the StickerPix's little 4 x 7 sheet. The stickers come in with extra borders, half of them hang off the edge, and sometimes they print beautifully but don't cut at all.
The good news is that it only takes a few simple tools in Design Space to fix all of that. In this tutorial, I'll show you exactly how I use my printable sticker sheets with the StickerPix, from uploading the sheet to holding finished planner stickers in my hand.
At a glance
- You'll need: a Cricut StickerPix Print + Cut, Cricut StickerPix sticker paper, Cricut Design Space, and the PNG version of your printable sticker sheet
- Time: about 10 to 15 minutes to lay out your first sheet
- Key tools: Border, Image Tools (Erase and Crop), Size with the size lock, and Rotate
- The step people miss: turning the border back on at a thickness of zero before you click Make. Without it, your stickers print but won't cut
- Works with: my Printable Stickers Club sheets, or any personal-use printable stickers you own
Watch the full tutorial
If you'd like to follow along on screen, here's the video version:
Why printable sticker sheets need a little prep for the StickerPix
Most printable sticker sheets (including mine) are designed for a full letter or A4 page. The StickerPix only prints and cuts on a 4 x 7 inch sheet. So before you print, you need to choose which stickers to keep and arrange them to fit.
There's one more thing to know. My printable stickers already have a white border around each design. When you upload a sheet, the StickerPix adds its own border on top, and you end up with a big shape around everything. That's why the very first thing we do is turn that border off.
Not sure if the StickerPix is the right machine for you? You can read my honest Cricut StickerPix review first.
Step 1: Upload your printable sticker sheet
- In Design Space, with your StickerPix selected, start a new sticker project.
- Click Upload, then Upload Image, and choose the PNG file of your sticker sheet.
- Click the uploaded image to add it to your project.
You'll see a border around the whole design, with a black line showing where Cricut will cut. Usually only one or two stickers are cut individually, and the rest are grouped together. We'll fix that next.
Step 2: Turn the border off
Click Border and turn it off. Your stickers will now look like they have no border at all.
Pro tip: change the canvas background to a dark colour (I use a dark blue). Now you can clearly see the white border already built into each sticker, which makes cropping and arranging much easier. Just remember to change it back to white before you print!
Step 3: Choose the stickers you want to keep
You've got two easy ways to do this. Use whichever feels more natural to you.
Option A: The Erase tool
This works well when you want to use most of a sheet.
- Move the sticker sheet up to the top corner of your canvas.
- Make it bigger so it fills more of the space. Stop when the vertical and horizontal guide lines in the top corner turn pink. That's your maximum size.
- Any stickers at the bottom that are cut in half need to go, or you'll get half a sticker printed and cut.
- Click Image Tools, then Erase.
- Erase close to the stickers you're keeping, but not so close that you clip them. Then make the brush bigger to erase everything else faster.
- To fill the empty space, right-click the sheet, choose Duplicate, and erase everything except the extra stickers you want.
Option B: The Crop tool
This is my favourite when I want to pick out a single sticker or one row or column.
- Select your sticker sheet, then click Image Tools and Crop.
- Drag the arrows to crop down to only the stickers you want.
- Right-click and Duplicate the sheet, then crop again to a different sticker or group.
- Keep going until your sheet is full.
Step 4: Resize and arrange your stickers
Once you've cropped your stickers, you can resize them to fit your planner, journal or project.
- Lock the size lock first so your stickers keep their shape and don't stretch.
- Type in the exact width you need. My planner stickers are designed to be 1.5 inches wide, so that's what I enter.
- Use Rotate to fill awkward gaps. In the video, I rotated a column of checklists by 90 degrees so they fitted neatly down the side of the sheet.
- Re-upload the sheet whenever you need more stickers. Click it again in your uploads, turn the border off, and crop to the next section.
- Check for empty space. There's often room for one or two more small stickers, and I hate to waste sticker paper!
Want new sticker sheets to print and cut every month?
Join Printable Stickers Club and get a fresh collection of seasonal and everyday printable sticker sheets each month, ready to print and cut as many times as you like.
Join Printable Stickers ClubStep 5: Change the background back to white
Zoom out so you can see the whole sheet, then change the background colour back to white. If you skip this, the StickerPix will print your dark background colour too.
Step 6: Add a border with a thickness of zero (the most important step!)
This is the step that catches most crafters out. Without a border, the StickerPix will print your stickers, but it won't cut them. You'll even see a little message in Design Space telling you to turn the border on to create a cut sticker.
- Select all of your stickers.
- Click Border and turn it back on.
- Change the thickness to zero.
Now you'll see a black cut line around the outside edge of each sticker. Because my printable stickers already have a white border built in, you'll still see a white edge around each one, even with the thickness set to zero. That's exactly what you want.
Step 7: Print and cut
- Click Make.
- Check you can see a dashed cut line around every sticker.
- Click Go.
Your StickerPix will print your stickers and then cut them out. And that's it. You've got a sheet of stickers ready for your planner!
Step 8: Save your project to use again
If there are more stickers left on the original sheet, follow the same steps to arrange them into a new layout and print those too.
If you think you'll want these stickers again, save the project before you start a new one. That way, next time you can open it and click Make without redoing any of the layout.
A quick note about writing on StickerPix stickers
The StickerPix sticker paper has a glossy, photo-like finish. Think about how hard it is to write on a photo. It's the same thing here.
- Won't work well: standard ballpoint pens, gel pens, and FriXion pens.
- Try instead: an ultra-fine permanent marker, or any pen that works on plastic, laminated, glossy or photo surfaces.
This is one of the reasons I personally prefer matte sticker paper for planner stickers I'll be writing on.
What crafters say about printing my stickers
"They were so easy to print, and the instructions were simple to follow. Mim always provides good quality products!"
Audrey
"I love all the options I have to print out. I keep coming back to Mim to add more to my collection!"
Laura
"These stickers are so cute and colorful. There are so many options. I have all the stickers I need!"
Michele
Pro tips for printable stickers on the StickerPix
- Always turn the border off first. Printable stickers with a built-in white border don't need a second one.
- Work on a dark background. It makes the white sticker edges easy to see while you crop and erase.
- Watch for the pink guide lines. They show you the maximum print area, so nothing gets clipped.
- Keep the size lock on. It stops your stickers from stretching when you resize them.
- Plan for the width you need. If your stickers are made for a planner, check the intended width (mine is 1.5 inches) before you resize.
- Save each layout as its own project. It makes reprinting your favourites quick and easy.
Troubleshooting
My stickers printed but didn't cut.
You need a border for the StickerPix to cut. Select all your stickers, turn Border on, and set the thickness to zero.
There's a big shape around my whole sticker sheet.
That's the StickerPix's own border. Click Border and turn it off, then re-add it at a thickness of zero at the end.
Half a sticker printed at the edge.
A sticker was hanging off the printable area. Use Erase or Crop to remove any sticker that doesn't fully fit inside the pink guide lines.
My whole sheet printed in dark blue.
The background colour was still changed. Switch it back to white before you click Make.
My stickers look stretched.
The size lock was off when you resized. Undo, lock the size lock, and resize again.
My pen smudges or won't write.
StickerPix paper is glossy. Use an ultra-fine permanent marker or a pen made for glossy surfaces.
FAQs
Can I use printable stickers with the Cricut StickerPix?
Yes. Upload the PNG sheet, turn the border off, crop or erase to fit the 4 x 7 sheet, then add a border with a thickness of zero before you print and cut.
Should I upload the PNG or the PDF?
Use the PNG. Upload it to Design Space with Upload Image.
Can I use other people's printable stickers this way too?
Yes. These steps work with any personal-use printable sticker sheets you own, not just mine.
Can I make stickers smaller or bigger?
Yes. Lock the size lock, then type in the width you want. It's a great way to make stickers fit a particular planner.
Why do my stickers still have a white edge when the border thickness is zero?
That white edge is the border already built into the printable sticker design. The zero thickness border just tells the StickerPix where to cut.
Can I sell stickers I make from Printable Stickers Club sheets?
No. Printable Stickers Club sheets are for personal use only.
Never run out of stickers again with Printable Stickers Club
If you love having beautiful stickers ready to print whenever you need them, I'd love to welcome you into Printable Stickers Club.
Every month, you'll get:
- A new collection of 10+ printable sticker sheets, with seasonal and everyday themes
- PNG and PDF files you can download, keep, and print as many times as you like
- Easy-to-follow print and cut instructions, so no design skills are needed
- A friendly community of sticker lovers where you can ask questions and share what you make
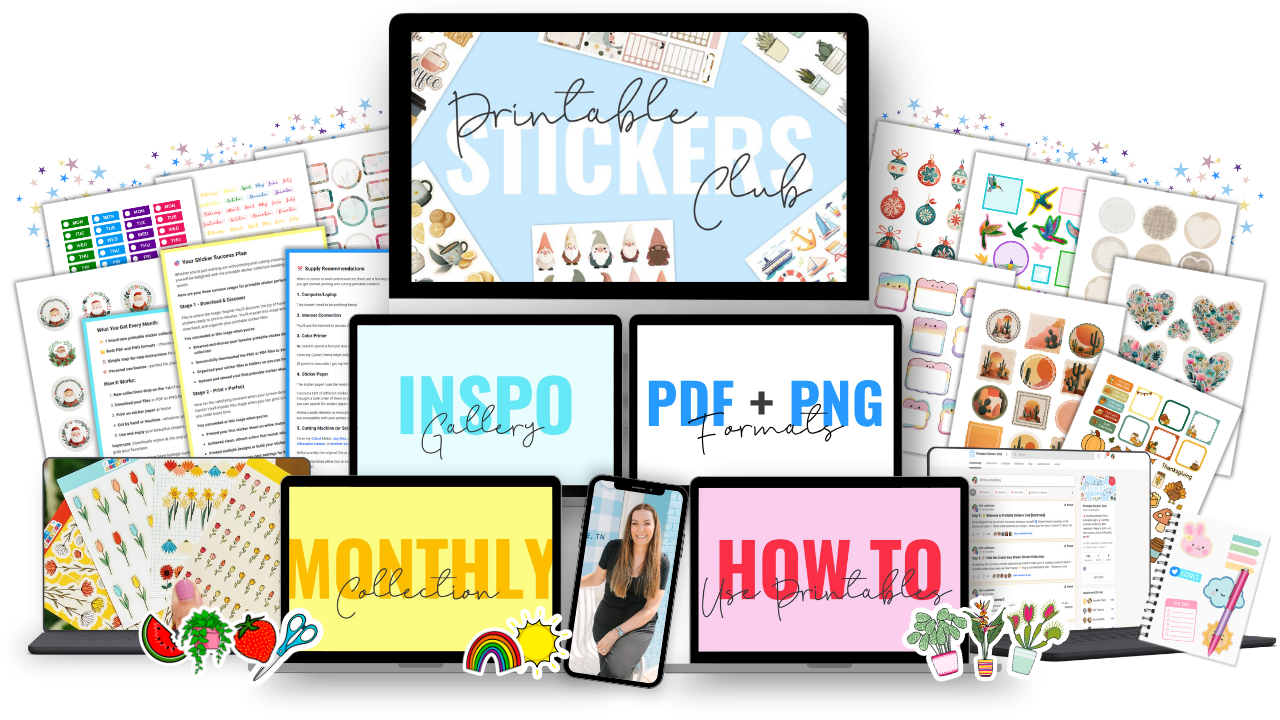
Have a question about using your StickerPix with my printables? Ask away in our Printable Stickers Club community. We'd love to see what you make!
Fresh stickers to print and cut, every single month
Join Printable Stickers Club today and start printing your first collection in minutes. Cancel anytime.
Join Printable Stickers ClubPrefer to watch? You'll find the full tutorial on my YouTube channel. Happy sticker making!
Mim x
JOIN THE COMMUNITY:
Learn to make stickers from scratch that you're proud to use a share!