
Print and Cut Practice: 10 Easy Sticker Ideas for Testing Your Machine Settings
Getting your print and cut settings just right can feel like a guessing game at first. Maybe your cuts are too deep. Maybe they don't cut all the way through. Maybe your machine is missing the lines completely!
One of the most common concerns I hear from new sticker-makers is how to practice without wasting beautiful designs or expensive paper.
That's why I've put together this list of beginner-friendly sticker ideas to test your cut settings: low-stress, fun projects you can make while learning how to get clean, accurate cuts with your machine.
Let's dive in with some confidence-building print and cut ideas.
Why Print and Cut Practice Matters
Here's why print and cut practice is so important (and worth your time):
- It helps you dial into the right blade depth and pressure for your sticker paper
- You'll get more consistent results
- You'll save time and materials down the line
- You'll build your confidence every time you succeed, even with something small
The trick is to keep it simple at first, so you can focus on how your machine cuts (and not stress about perfect designs or alignment).
10 Beginner-Friendly Sticker Ideas to Test Your Cut Settings
Here are 10 quick, low-pressure sticker ideas perfect for practicing your cut settings, whether you're using Cricut Design Space or Silhouette Studio.
Each idea uses simple shapes and easy-to-layer designs, so you can test your cuts without wasting materials or time.
1. Basic Circles + Squares
Start with simple shapes in a few different sizes to see how your machine handles curves and corners.
Tip: Try 1", 1.5", and 2" shapes on the same sheet to see how scale affects your cut quality.
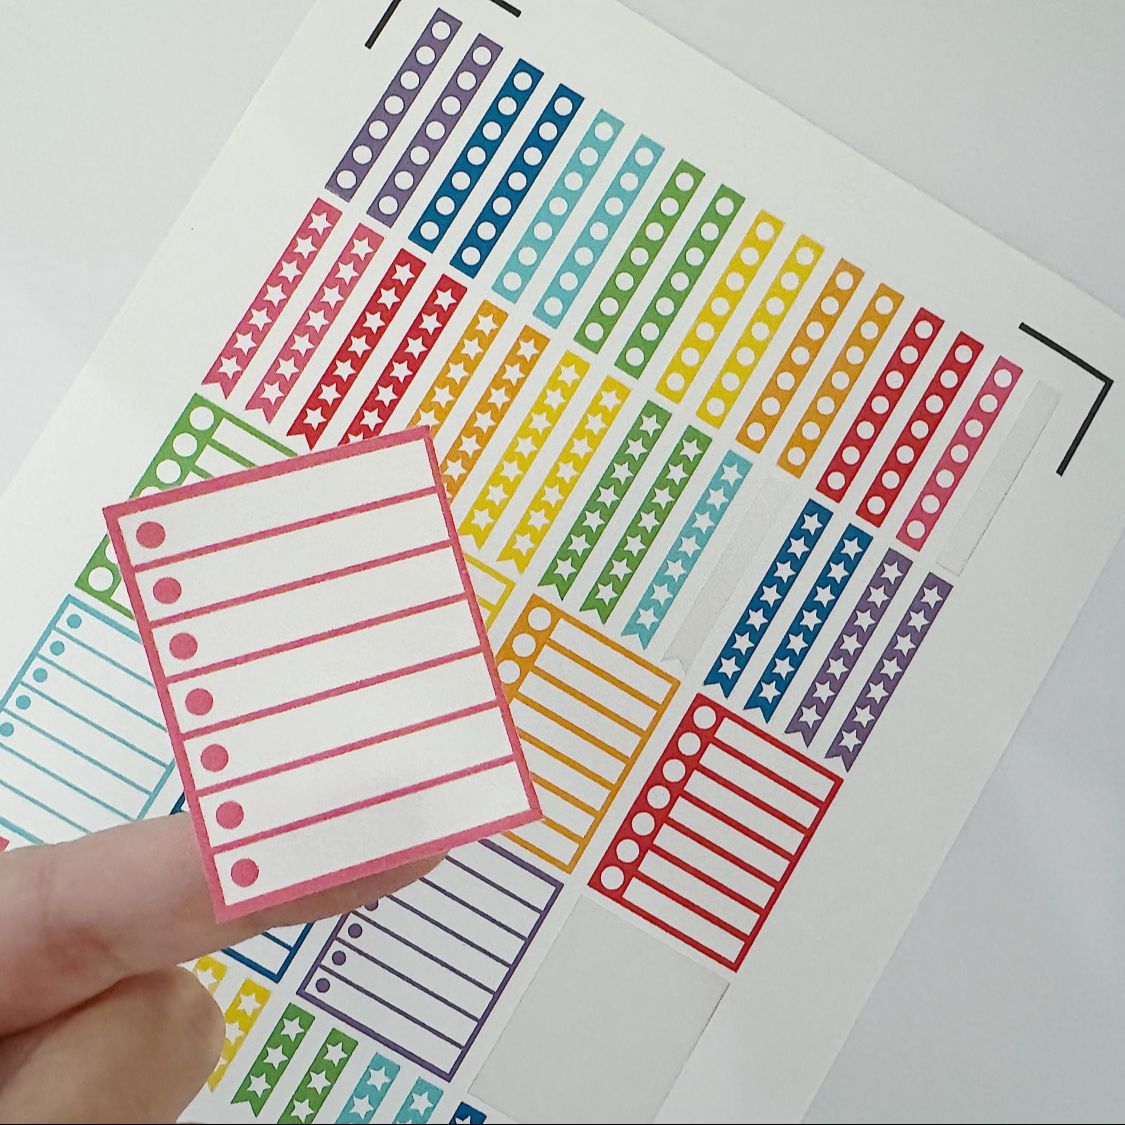
2. Solid Color Dots
Create a sticker sheet of colorful dots (easy to design in Canva, Cricut Design Space, or Silhouette Studio).
With no detailed design to worry about, you can focus on checking the alignment and depth of your cut.
3. Small Labels or Tags
Design mini labels with rounded rectangles or scalloped edges. These are great for practicing slightly more complex outlines.
You can turn them into planner labels, gift tags, or chore stickers later.
4. Simple Icons
Think stars, hearts, or smiley faces. These have enough detail to challenge your machine just a bit without overwhelming it.
Tip: If the corners or curves aren't cutting cleanly, try reducing speed or adjusting blade pressure.
5. Name Stickers (Using Block Fonts)
Type out your name in a bold, easy-to-read font. This is great for practicing how your machine handles text shapes.
You could also use common labels instead of your name, like "To Do" or "Reminder".
6. Coloring Stickers (Black Outline Only)
Print a sheet of black-and-white doodles or clip art to practice cutting around the edges of the outline.
Bonus: If you have kids or grandkids, you now have a fun extra activity in coloring in the stickers together!
7. Offset Shapes
Create a bold shape (like a flower or animal) and add a white border around it using the Offset tool in Cricut Design Space or Silhouette Studio.
This offset mimics the look of die-cut stickers and helps refine your alignment.
8. Washi Strips
Print rectangular strips of patterns or color blocks in different widths (try 0.5", 1", 1.5") and cut them as sticker washi.
This project helps you practice long cuts and straight edges.
9. Repeating Pattern Stickers
Try a sheet of repeating images like rainbows, leaves, or stars. This is great practice for duplicate cuts and learning how your machine handles a full page of cutting.

10. Combination Sheet
Create a "practice sampler" with a mix of circles, icons, and labels on a single page.
This is a brilliant way to preview a variety of cutting results when testing a new type of sticker paper before using it for a real project.
Cutting Machine-Specific Tips
Cricut users
You can use your Joy Xtra, Maker, or Explore.
- Use "Printable Sticker - White" and "Premium Vinyl - Glossy" for your material settings
- Try increasing pressure to "More" if your cuts don't go all the way through
- Use a LightGrip mat to prevent tearing when peeling
Silhouette users
You can use your Portrait or Cameo.
- Adjust blade depth and force manually or use recommended settings as a starting point
- Perform a Test Cut every time you try a new paper type
- Use "Cut Edge" instead of "Cut" if you're laying shapes
Track Your Perfect Settings
Once you find cut settings that work, write them down or save them in your machine software.
If you write them down, keep note of:
- Paper brand/type
- Cutting setting used
- Blade type
- Print quality setting
You might be telling yourself you'll just remember the settings for next time, but trust me: Tracking them now will save you a lot of time (and stress) later on!
Want Monthly Sticker Practice Ideas (and Templates Too)?
If you're enjoying these beginner-friendly sticker ideas, join us in Secret Sticker Society: my monthly membership for sticker lovers!
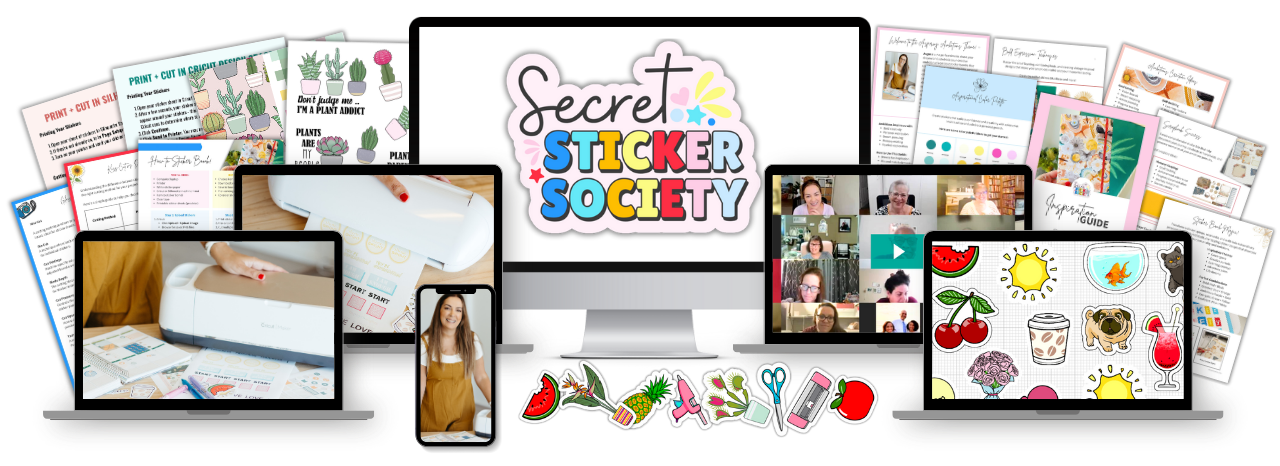
Each month, you'll get:
- Two new sticker templates to customize and cut
- Step-by-step video tutorials
- Fun monthly sticker challenges
- A lovely, supportive community of crafters just like you
Whether you're brand new or want to keep improving your skills, Secret Sticker Society gives you the tools and encouragement to grow your sticker-making confidence.
Click here to join Secret Sticker Society today.
Final Thoughts
Your cuts don't have to perfect for sticker-making to be fun. The more you practice, the more confident you'll feel.
These easy sticker ideas are a great way to learn how your machine works without pressure, stress, or wasted paper. So print out a few shapes, tweak your settings, and keep trying until you get results you're proud of.
You've got this!
JOIN THE COMMUNITY:
Learn to make stickers from scratch that you're proud to use a share!