
7 Common DIY Sticker Mistakes Beginners Make — and How to Fix Them
Making DIY stickers is so much fun...until something goes wrong. Maybe your stickers don't cut where they should, the colors don't look quite right, or your paper isn't doing you any favors.
Every sticker maker I know—including myself—has had moments where their projects didn't turn out the way they pictured. The good news is that these beginner sticker making mistakes are easy to fix once you know what's causing them.
This guide will help you identify and fix the most common problems so you can consistently create stickers you're proud of.
1. Printing on the Wrong Side of the Paper
It might sound too simple to be true, but many beginners accidentally load sticker paper into their printer upside down (especially if they're using a new brand or type of paper).
Signs this is the problem:
- Your design looks pale, patchy, or barely visible.
- Ink seems to sit on the surface of the paper without absorbing.
- Smudging happens instantly when you touch the printed area.
- The paper feels rougher or more fibrous where the ink landed.
How to fix it:
Check the packaging for your sticker paper. Most brands will specify which side to print on and how to load it into your printer (often face down for rear-feed printers and face up for front feed).
Hold the paper under a light to check for the printable side. It's often shinier, smoother, or slightly different in color.
If you still can't tell which side is which, lightly dampen your fingertip and touch a paper corner. The printable side will feel smoother and resist absorbing moisture.
2. Not Matching Your Paper to Your Printer
Not all sticker paper is created equal. Inkjet-compatible paper in a laser printer (or vice versa) can cause everything from smudging to feathering.
Signs this is the problem:
- Ink smears easily, even after you give it plenty of time to dry.
- Edges of your design look fuzzy or blurry, or "bleed" into the paper.
- Bare patches or a powdery finish where toner hasn't fused properly (for laser printers).
How to fix it:
Double-check your paper packaging to see if it's compatible with your printer. It should say "For Inkjet", "For Laser", or "For Both". Use only inkjet paper in an inkjet printer and laser paper in a laser printer.
If you switch printer types at any time, remember to buy paper compatible with that machine.
3. Skipping the Test Print
When you're excited to see your design as a real sticker, it's tempting to print the whole sheet right away. But one wrong setting or alignment issue can waste an entire page of sticker paper, which isn't cheap.
Signs this is the problem:
- The size are wrong, too big or too small for how you intended to use your stickers.
- The design prints outside the intended cut area.
- Colors look completely different from your design (duller, warmer, or cooler).
- Parts of your design are missing entirely.
How to fix it:
Always print a test page on regular paper first. Place it over your actual sticker paper to check the size and placement.
Compare the test print colors to your design and adjust your printer settings or file if needed.
Repeat as needed until the test sheet looks exactly right, then you can print on actual sticker paper.
4. Ignoring Your Printer Settings
Many beginners stick with their printer's default settings, but those aren't always ideal for DIY stickers. The wrong setting can make colors dull, edges blurry, or even cause paper jams.
Signs this is the problem:
- Colors are faded or flat even when your design is vibrant.
- Ink doesn't seem to dry after a long time.
- Print quality looks "soft" instead of crisp.
- You see fine "banding" lines in solid colors.
How to fix it:
In your printer's setting, do the following:
- Select the correct paper type (matte, glossy, or photo paper).
- Choose "High Quality" or "Best" for sharper details (but if you're seeing smudging, then use "Standard").
- Adjust color settings for brightness, contrast, and saturation if prints don't match your screen.
- If you're using photo-quality paper, select "Photo" mode for richer color.
5. Forgetting to Calibrate Your Cutting Machine
If your Cricut or Silhouette isn't perfectly calibrated, your cuts might be misaligned, ruining an entire sheet.
Signs this is the problem:
- Cuts are shifted off-center compared to your design.
- One side of each sticker has a white border, while the opposite side cuts into the design.
- The machine cuts through design elements it shouldn't.
How to fix it:
Run a calibration test in your machine's software (Cricut Design Space or Silhouette Studio). This process prints a sheet, cuts test lines, and asks you to select the best alignment.
Repeat the process as unneeded until the cuts line up perfectly. Remember to recalibrate any time you change sticker paper thickness or update your software.
6. Overcomplicating Designs Too Soon
When you're new to sticker making, it's tempting to dive into complex shapes, tiny details, or intricate layering right away. But complicated designs can be frustrating to get right when you're still learning your tools.
Signs this is the problem:
- Thin or tiny details in your sticker tear during cutting.
- Small elements lift at the edges.
- Printing takes a long time and uses a lot of ink for minimal visible difference.
How to fix it:
Start simple. Choose easy shapes (rectangles, circles) and bold, clear designs. Use clear outlines and avoid very thin lines at first.
As your printing confidence and skills grow, you can build up to complex, layered designs without feeling overwhelmed.
7. Not Allowing Ink to Dry Before Cutting
This is a big one, especially if you use glossy sticker paper. Cutting too soon can cause your cutting machine's rollers to smear fresh ink.
Signs this is the problem:
- Smudges or streaks across your stickers after cutting.
- You see ink residue on your machine's rollers or cutting mat.
How to fix it:
Allow printed sheets to dry for at least 10-15 minutes before cutting. For glossy or heavily saturated designs, wait 30 minutes or more.
Store drying sheets flat and away from where they can be exposed to dust or moisture.
For extra protection, you can also apply a clear laminate layer before cutting to protect the ink.
Quick Wins for Beginner Sticker Makers
If you've made one (or more) of these mistakes, you're in good company. The trick is to learn from them, apply the fixes, and keep going.
Here's a quick recap of good sticker making practices to have in general:
- Check your paper side and printer type
- Always test print on regular paper before using sticker paper
- Adjust your printer settings for the paper you're using
- Calibrate your cutting machine regularly
- Start with simple designs and build from there
- Give ink plenty of time to dry before cutting
Want to Skip the Guesswork?
If you'd rather not learn these lesson the hard way, the Print and Cut Kit is designed for you.
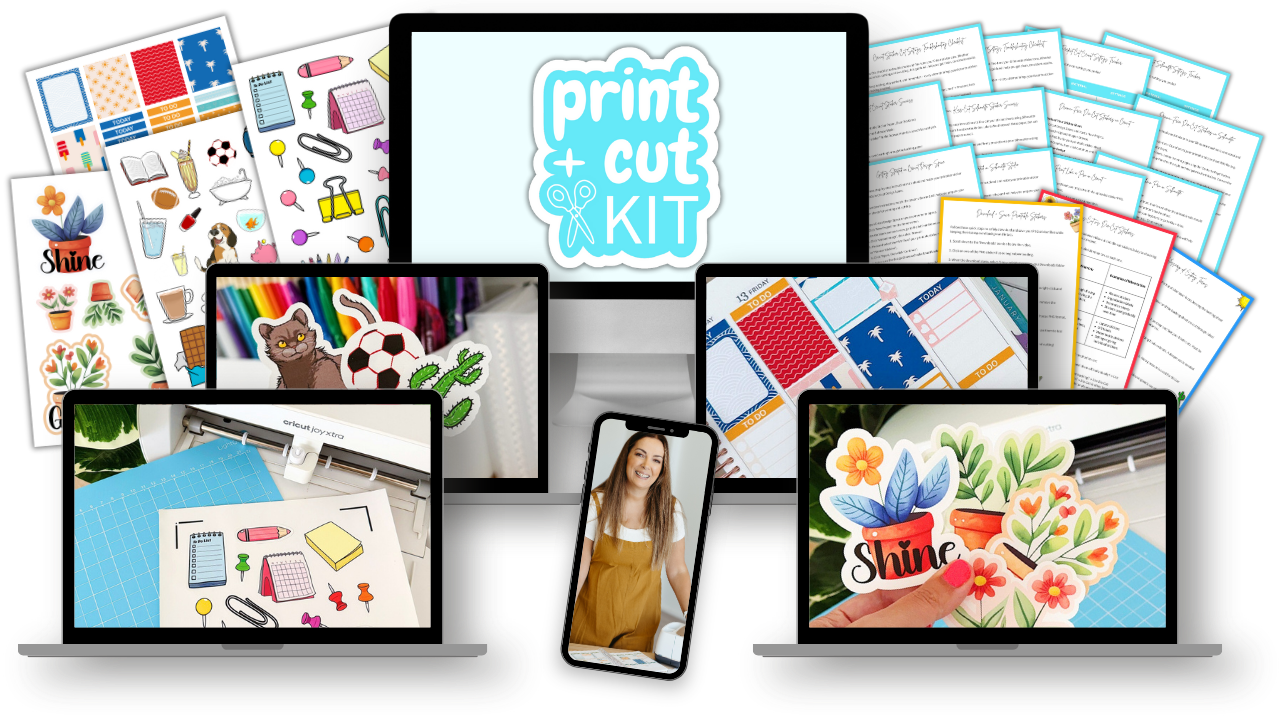
This mini-course takes you step-by-step through making your own stickers at home so you can skip trial and error and go straight to results. Inside, you'll learn:
- How to set up your designs for print and cut success
- Exactly which settings to use for crisp prints and perfect cuts
- How to troubleshoot printing and cutting issues before they ruin your stickers
- Time-saving tips so you spend more time creating and less time redoing
By the end, you'll have the confidence and know-how to make stickers that look shop-quality.
JOIN THE COMMUNITY:
Learn to make stickers from scratch that you're proud to use a share!