Why Your Stickers Aren’t Turning Out Right (It’s Not You - Here’s What to Check)
If you've ever looked down at your freshly printed stickers and thought "Why are my stickers not turning out right?", you should know something important:
It's not you, and you're not failing.
Sticker-making is tricky at first, especially when you're learning how to design, print, and cut all at once. It's a craft that combines creativity and tech, and it's completely normal to hit a few bumps in the road.
The good news? Most sticker problems have simple fixes, especially once you understand how the materials and tools work together.
So if your stickers are misaligned, peeling weirdly, or cutting too deep (or not deep enough), take a deep breath. Chances are, you probably just need to tweak one or two small things.
Let's walk through some common sticker problems and what you can check to turn things around.
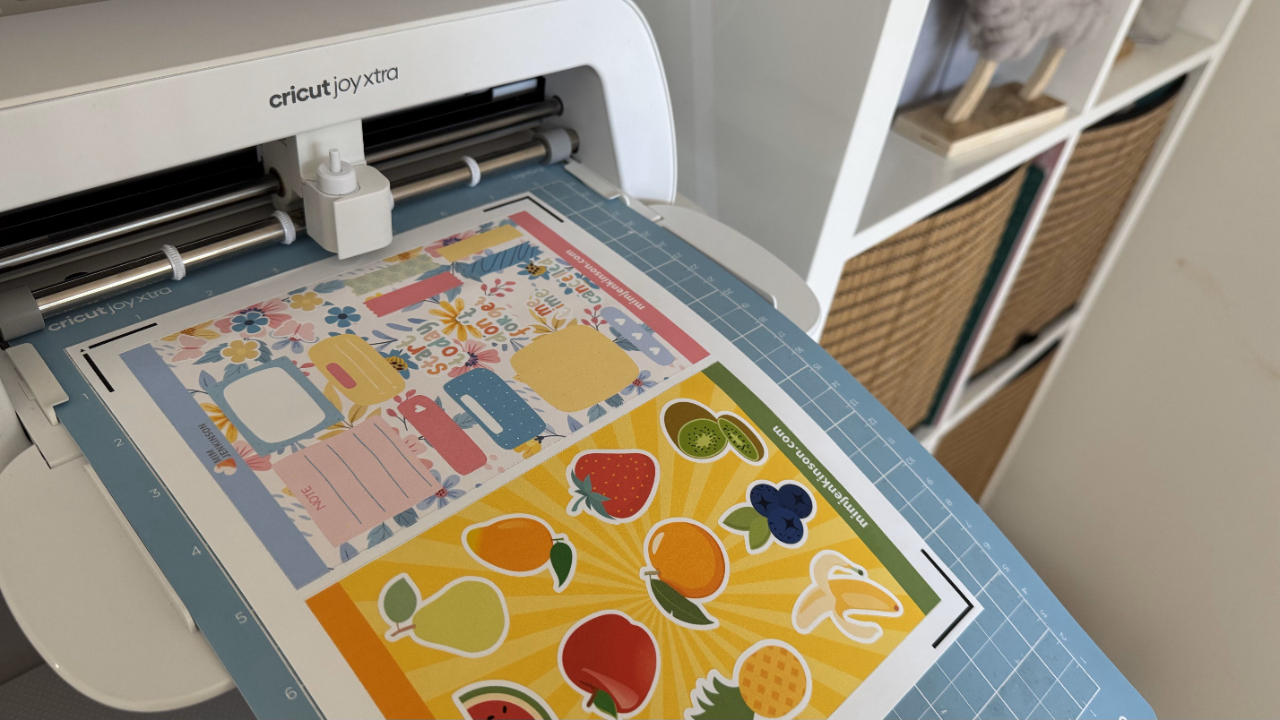
1. Sticker cuts aren't aligned
The Problem:
Your stickers are printing in the right place, but the machine is cutting slightly off. Maybe the cuts are around the wrong edges or through the design.
What to Check:
- Calibration - Your Cricut or Silhouette might need to be recalibrated. This tells the machine how to line up the cut with the printed design.
- Lighting & paper gloss - Glossy paper can reflect light and confuse your machine's sensor. Try matte paper or add tape around the edges.
- Registration marks - If you're using a Silhouette, make sure registration marks are turned on and clear (not cropped or covered).
2. Stickers aren't cutting all the way through
The Problem:
Your stickers are printing beautifully but not cutting deeply enough. Either they're not peeling cleanly or won't separate at all.
What to Check:
- Blade depth or pressure - You might need to increase your cut pressure or use a deeper blade setting.
- Sticker paper type - Thicker or vinyl-based papers need stronger pressure to cut through.
- Blade wear - If your blade is older or used for other materials, it may be too dull. Try swapping it out for a fresh one.
3. Cuts are going too deep (Cutting through the backing)
The Problem:
Your machine is cutting through everything (including the sticker backing), making the whole sheet hard to handle.
What to Check:
- Use a kiss cut instead of die cut - Kiss cuts only cut through the top sticker layer.
- Lower your pressure setting - Try "Less" in Cricut, or reduce blade force in Silhouette.
- Check material settings - Sometimes Cricut auto-selects the wrong material. Make sure you're choosing "Sticker Paper" or "Washi Sheet".
4. Ink is smudging or bleeding
The Problem:
Your designs look fuzzy or smear when touched, even if it's been a while since printing.
What to Check:
- Print settings - Use "High Quality" and select the correct paper type (matte or glossy).
- Paper compatibility - If you're using an inkjet printer, check to see if your sticker paper is compatible. Some papers are made only for laser printers.
- Drying time - Let printed stickers dry for at least 15 minutes before handling or cutting, especially if you're using glossy paper, which needs extra drying time.
5. Edges are tearing or lifting
The Problem:
When trying to peel your stickers, the edges rip or curl up from the sheet.
What to Check:
- Mat strength - A too-sticky may can tear delicate paper. Try a LightGrip mat instead.
- Peeling method - Flip the mat over and gently peel the mat away from the sticker paper, not the other way around.
- Cutting speed - In Silhouette, a slower cut speed helps with delicate shapes.
6. Stickers look grainy or pixelated
The Problem:
Your sticker images print blurry, jagged, or low-quality.
What to Check:
- Image resolution - Use high-resolution images in your designs (300 dpi is ideal).
- Design software - Avoid screenshots. Use proper PNG, JPG, or SVG files.
- Printer settings - Set print quality to "Best" or "High" in your printer dialogue box.
7. You're using the wrong tools for your project
Sometimes the issue isn't with you, it's with the setup. You might be using:
- Sticker paper that's too thin for your project
- A printer not suited to glossy finishes
- A cutting setting that doesn't match your material
And all of that is okay! Most new sticker makers try to figure it all out through trial and error. But it doesn't have to be so hard.
You're Not Alone (And You're Not Failing)
If you've been wondering why your stickers aren't turning out right, remember this:
Every sticker maker has had those "why won't this work?!" moments.
Every Cricut user has ruined a few sheets.
Every beginner has asked themselves, "Is it just me?"
It's not. You're learning. And every sticker you make (even the one you just threw in the bin) is teaching you what to tweak next.
Want to Skip the Overwhelm and Start With a Plan?
If you're ready to stop guessing and start making professional-looking stickers you're proud of, I created Sticker Making 101 just for you.
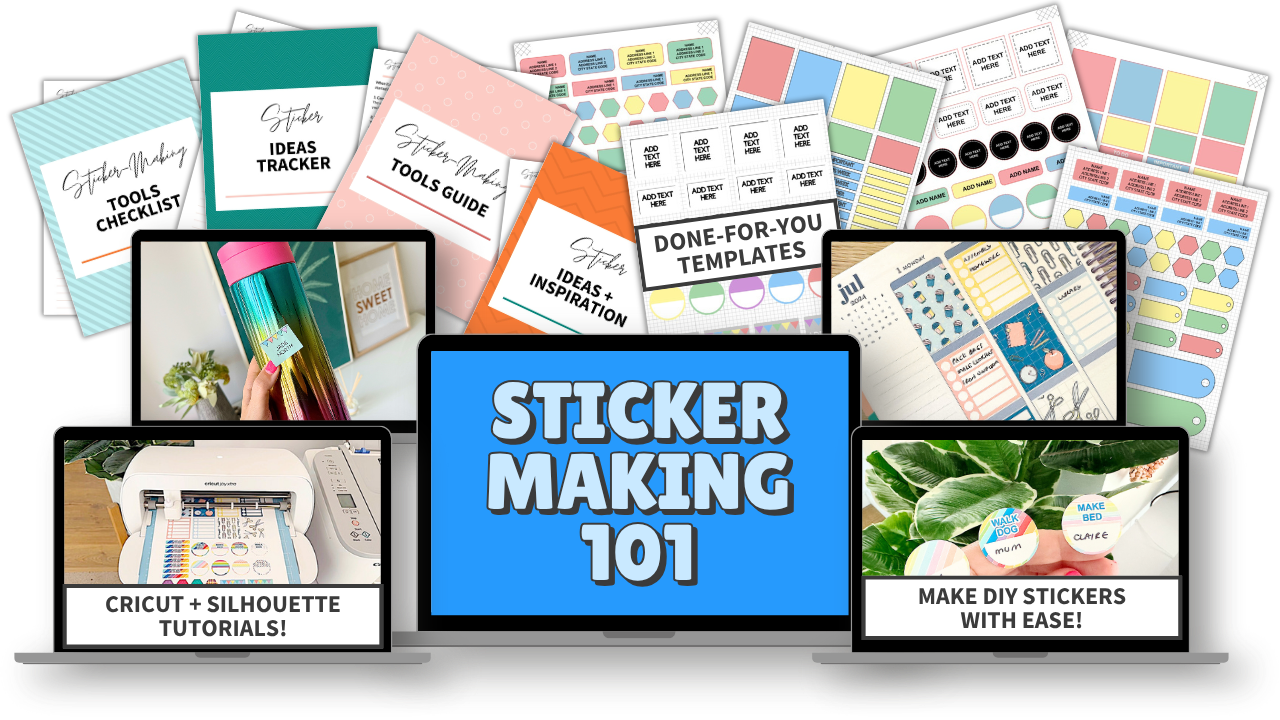
Inside this beginner-friendly course, you'll learn:
- What tools and paper you really need (and what you don't)
- How to design simple but stunning stickers from scratch
- How to print and cut your first sticker sheet, step by step
- How to fix the most common beginner sticker problems
It's the shortcut I wish I had when I first started!
Click here to join Sticker Making 101 now.
Final Thoughts
Sticker making is a learning process - just like sewing, painting, or baking. Some results will turn out perfect. Others might not. But every project brings you closer to feeling confident, creative, and proud of what you've made.
So the next time you think, "Why are my stickers not turning out right?", just remember: It's not a failure. It's just a step. And I'm here to help you take the next one.
JOIN THE COMMUNITY:
Learn to make stickers from scratch that you're proud to use a share!